
Share This Article
As an umpire, ensuring the game runs smoothly and safely starts before the first pitch is thrown. One crucial aspect of preparation is conducting equipment checks.
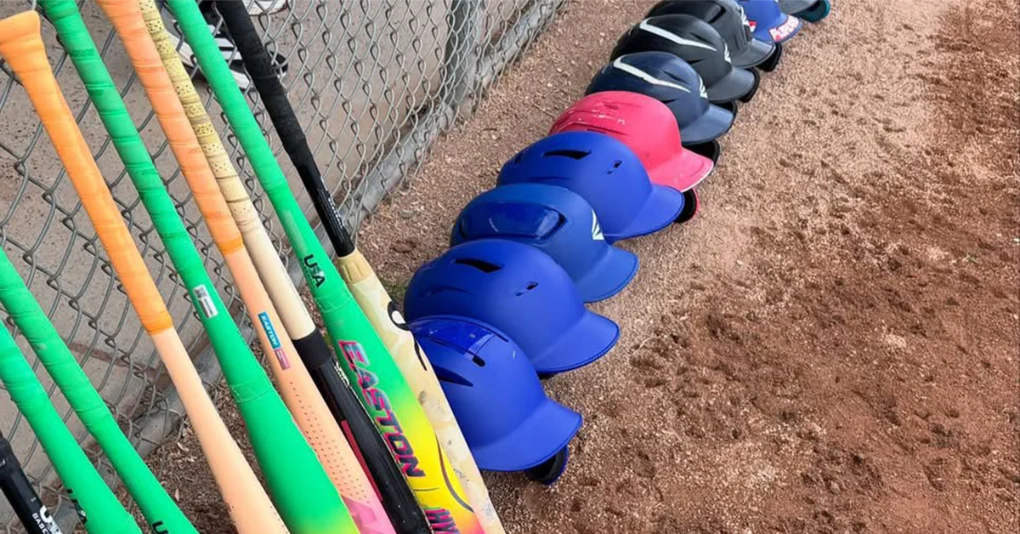
You will want to check all bats to ensure they are the proper size and not damaged, and helmets to ensure there are no cracks. Also, check any other equipment that is required by the rule. Here’s a quick guide on efficiently carrying out these checks before the game begins.
Arrive Early:
To conduct a thorough equipment check, aim to arrive at the field at least 10 minutes before game time. This will allow you ample time to inspect all necessary gear without rushing.
Divide and Conquer:
There are different ways to conduct equipment checks, depending on the number of umpires present. However, regardless of how you do it, the check must be carried out if it’s required by the rules for the particular game level you’re umpiring.
In the case of a two-umpire crew, you and your partner can inspect both teams together, or you can check one team each.
If you are working a game by yourself, you will want to hustle and make sure you get both teams’ equipment checked promptly. Remember you will need to start your plate meeting about 5 minutes before game time, so you may want to get to the field earlier because you will be checking both teams’ equipment yourself.
Know the Requirements:
Different leagues may have varying regulations regarding equipment. Familiarize yourself with the specific rules of the league you’re officiating for. Everyday items to check include bats, helmets, and catcher’s gear.
What Gear Will You Be Checking:
Depending on what league and level of game you are umpiring, the requirements for what you will be looking for regarding equipment checks vary.
When getting ready to check the equipment, you will want to make sure that if a player has brought gear to the game, it will be checked.
Almost every time I do an equipment check, some gear or equipment is left in the player’s bag or in the dugout. This gear still needs to be checked or removed from the dugout.
Pro tip: Never go into the dugout and enter the player’s bag. Instruct the player to bring it out to you.
I also like to check the batting donuts. Some leagues, like Little League, do not allow traditional batting donuts. It’s simpler to check on this during your pregame equipment check instead of stopping the game and removing the illegal equipment.
Bats: Inspect bats for compliance with the league’s size, weight, and other specifications. Look for any signs of damage, such as dents or cracks, particularly in wooden bats. With aluminum bats, I like to slide my hand around the barrel to feel for any imperfections like a dent or crack. I also want to check the bat’s top to see if the cap is loose or has been tampered with.
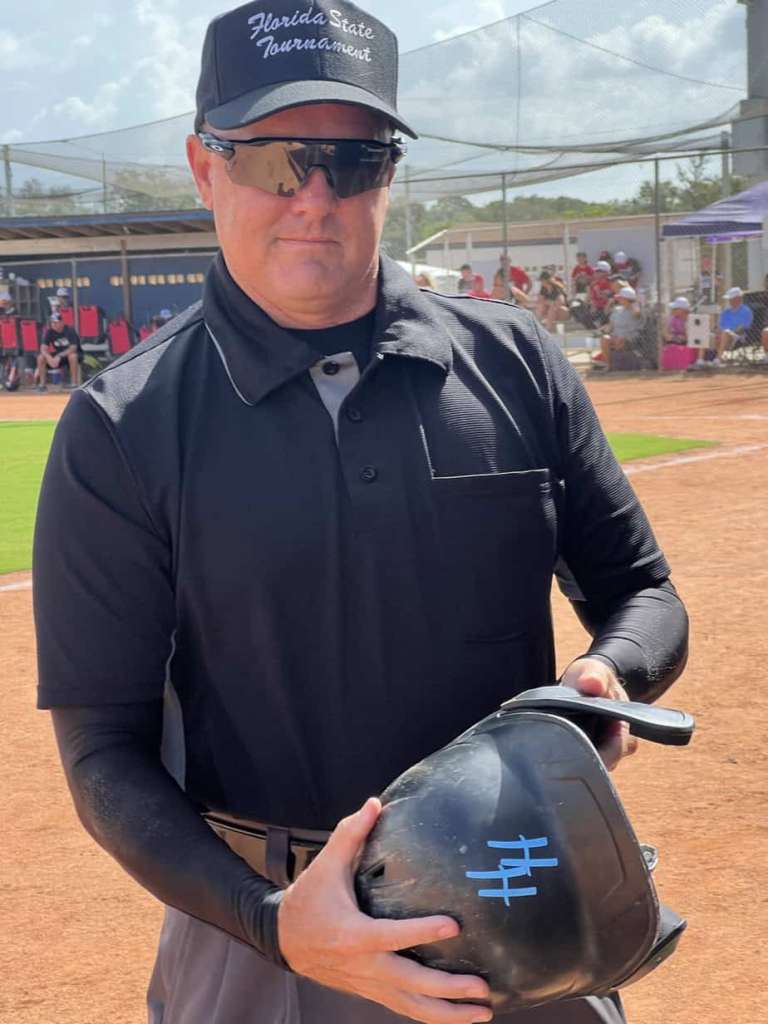
Helmets: Ensure that helmets are in good condition and that all foam padding is intact. Pay special attention to the temple area, where helmets are prone to cracking. Any compromised helmets should be flagged and removed from play.
Catcher’s Gear: The catcher’s gear should be checked based on the league’s guidelines. In leagues like Little League Baseball and Softball, verify that the catcher’s mask includes a dangling throat guard. Check for loose screws. Know if the league you are working for allows catchers to use skullcaps.
Efficiency is Key:
A thorough equipment check should take less than 5 minutes to complete. Promptly notify coaches of any equipment issues detected during the inspection.
Proactive Measures:
To prevent the use of illegal or damaged equipment during the game, take proactive steps. Remove any problematic gear and hand it to a director or designated official. This ensures that only safe and compliant equipment is used during gameplay.
By diligently conducting pregame equipment checks, umpires contribute to a fair and safe playing environment for all participants. These checks uphold the game’s integrity and prioritize players’ well-being.
